Generative Fill and Repair Tool
Acorn 8.7 offers two new tools for repairing and removing unwanted objects from your image: Generative Fill tool  and the Repair tool
  .
.
Both tools perform similar actions, but each has different strengths:
-
The Generative Fill tool uses a trained Machine Learning (ML) model to fill in any brushed or selected area. Its strength is being imaginative about what to fill in the missing pixels with. It is however, much slower than the Repair tool.
Note: The first time you use Gen Fill, Acorn will need to download the model first, which is around 200MB. -
The Repair tool (also known as a “Healing Brush”) removes unwanted objects, blemishes, and distractions by replacing painted areas with pixels copied from the surrounding image. It is a very quick tool and if you need to perform many small brushes, you might want to reach for this tool.
Using the Generative Fill Tool 
Select the Repair tool (pressing Shift-J twice, or use the icon in the tool palette), adjust the brush size, and paint over the area you want to remove. When you finish the stroke, Acorn will load the model with a progress bar and generate new pixels in the painted area.
If you would like the generated pixels to be placed on a new layer, hold down the option key when finishing your brush stroke.
The Generative Fill Tool in Action

I like this picture, but I do think the bottom car is a bit distracting. So I'll select the Gen Fill tool and paint over it and its shadow:
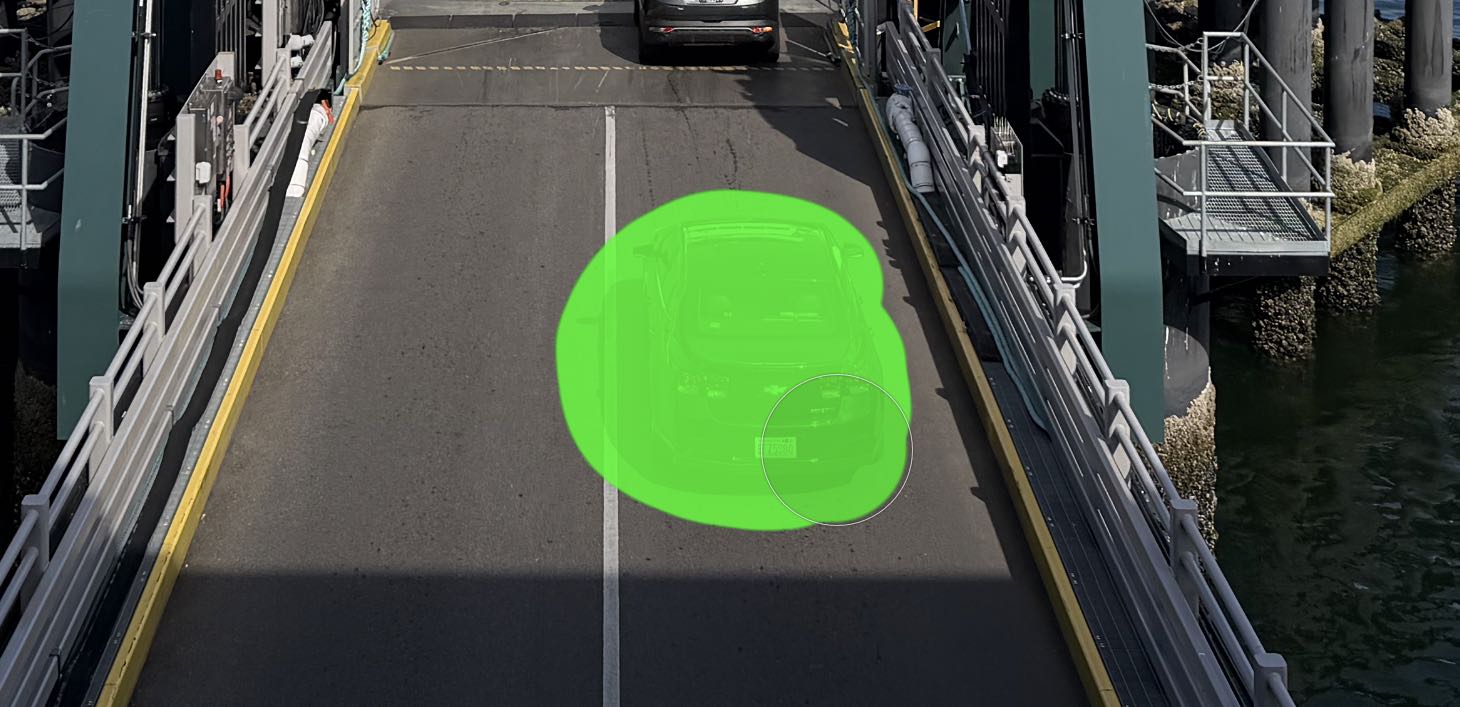
And in the end we get the following image:

Using the Repair Tool 
Select the Repair tool (Shift-J, or use the icon in the tool palette), adjust the brush size, and paint over the area you want to remove. When you finish the stroke, Acorn will look at the surrounding pixels and blend it in seamlessly.
You can also hold down the Option key before completing a stroke to copy the repair on a new layer, preserving the original layer beneath it. This is handy if you want to play with blend modes or transparency.
Pro Tip
For the best results, use strokes only slightly larger than the object being removed. Repair works especially well on textures and backgrounds such as skin, sky, grass, walls, and fabric. Complex edges or large objects may work better with several smaller strokes.
The Repair Tool in Action
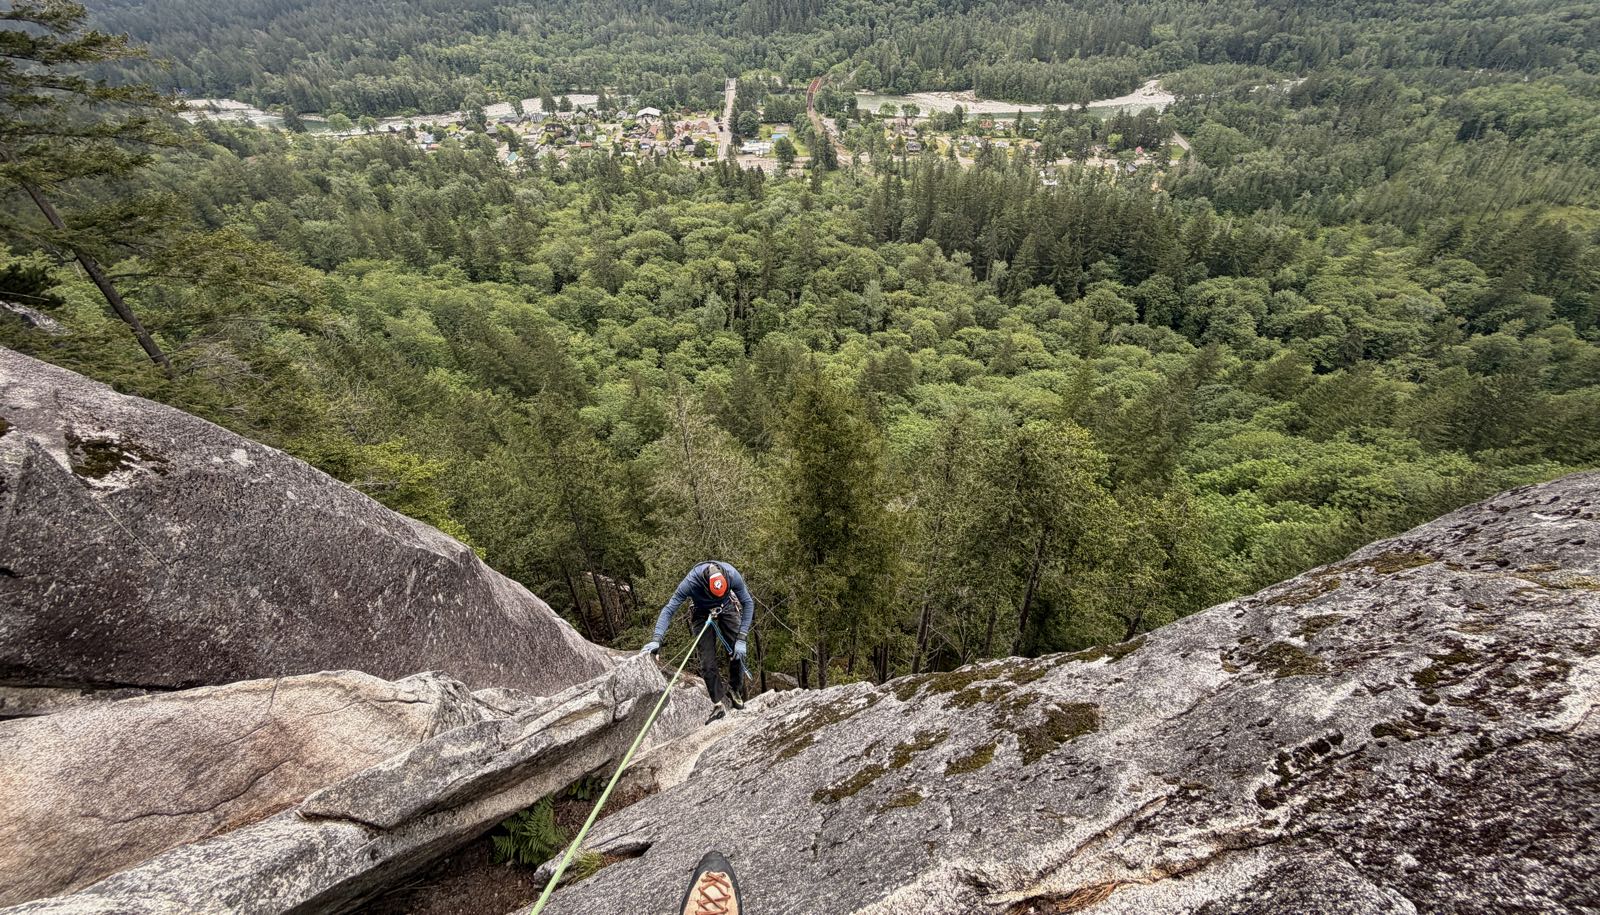
Here’s a picture a buddy as we’re coming down from a rock climb. Unfortunately my foot also makes an appearance at the bottom of the image.
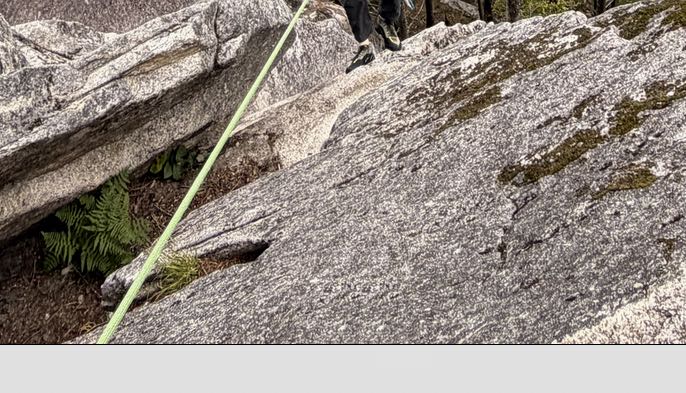
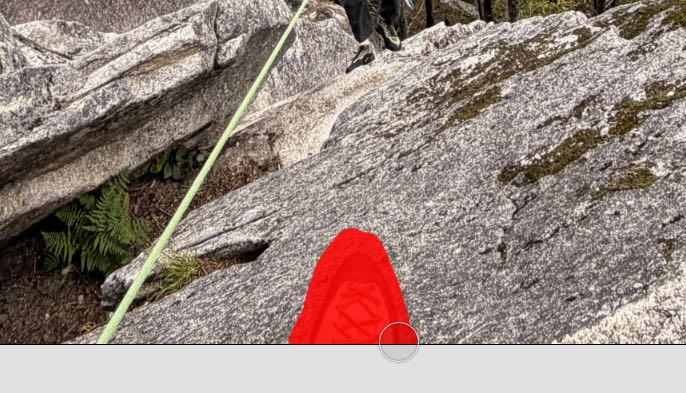
So what we’ll do is select the Repair tool, and paint over the area where the foot we want removed is:
And then once we finish drawing (drumroll) my foot is gone: